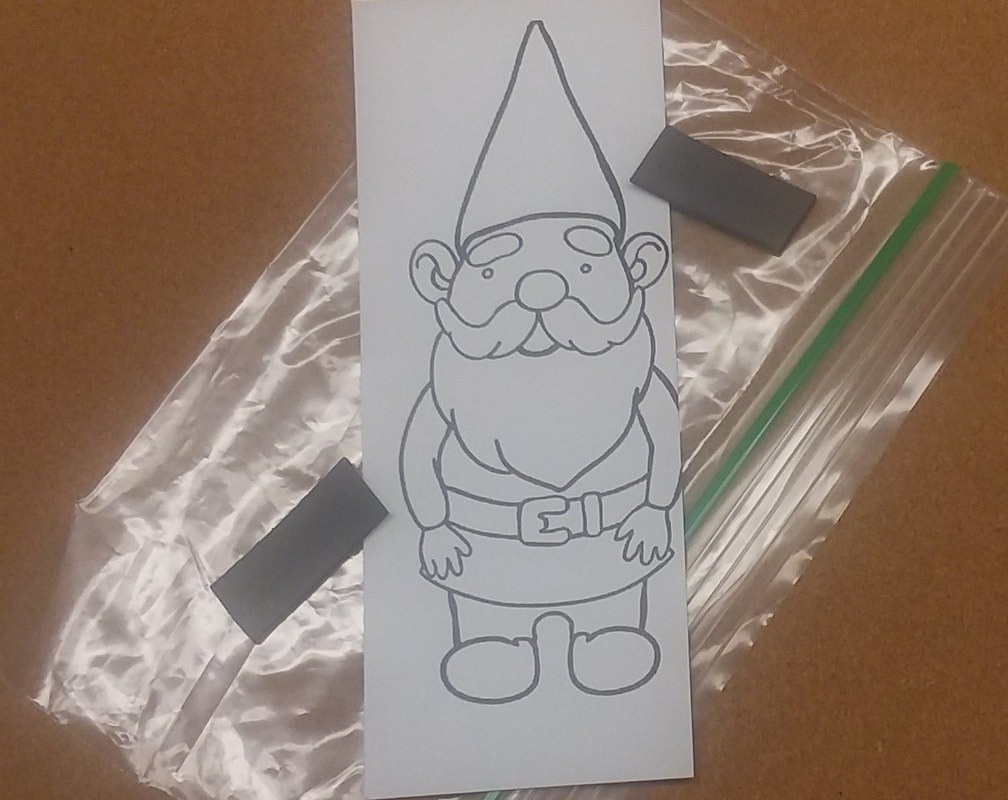
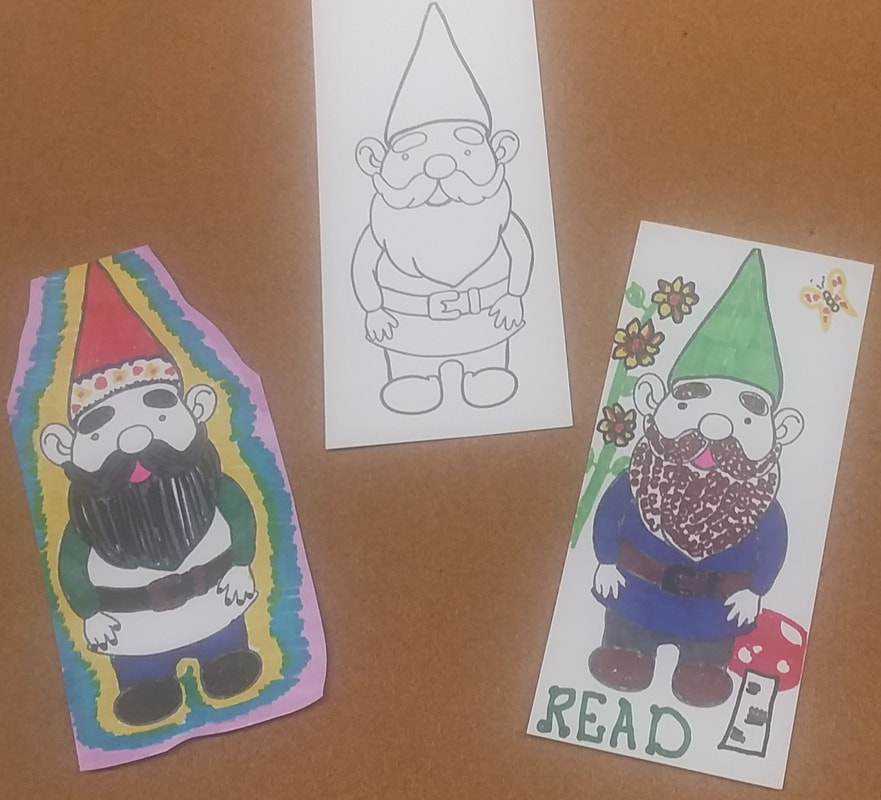
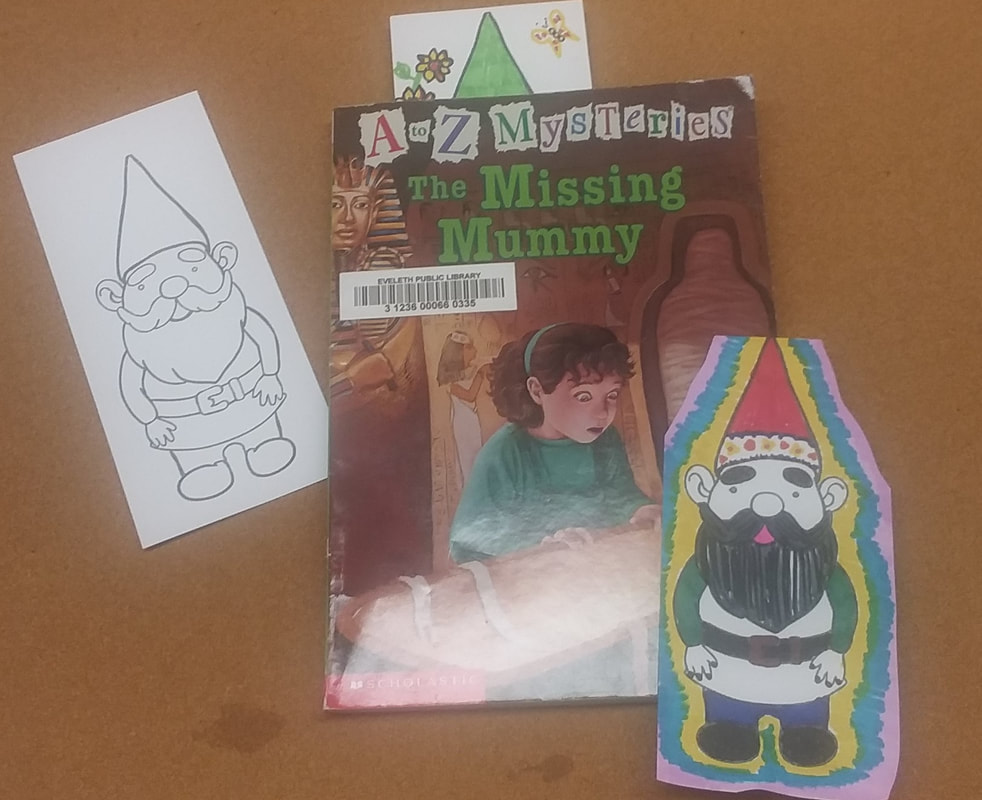
Decorate your Erwin however you like using whatever decorating supplies you like. Does Erwin need a feather in his cap? Or how about a pompom? Maybe he needs glitter in his beard. If you are planning to use Erwin as a bookmark I recommend skipping the glitter and making sure any pompoms or other bits that stand up are kept in the area outside where a book would close over it. You can cut away some or all of what is not Erwin to make your magnet/bookmark another shape if you like. Once you've decorated him however you like you can decide if you want to turn him into a magnet. If you do decide to do that just peel off the protective strip covering the sticky side of the magnetic tape and press it on Erwin's back. Note: This gets messy for a bit. You will want to cover your table with newspapers or do this wherever clean up is easy. Also you will need to knead this while it feels slimy. If you have problems handling things that look & feel like snot this craft is not for you.
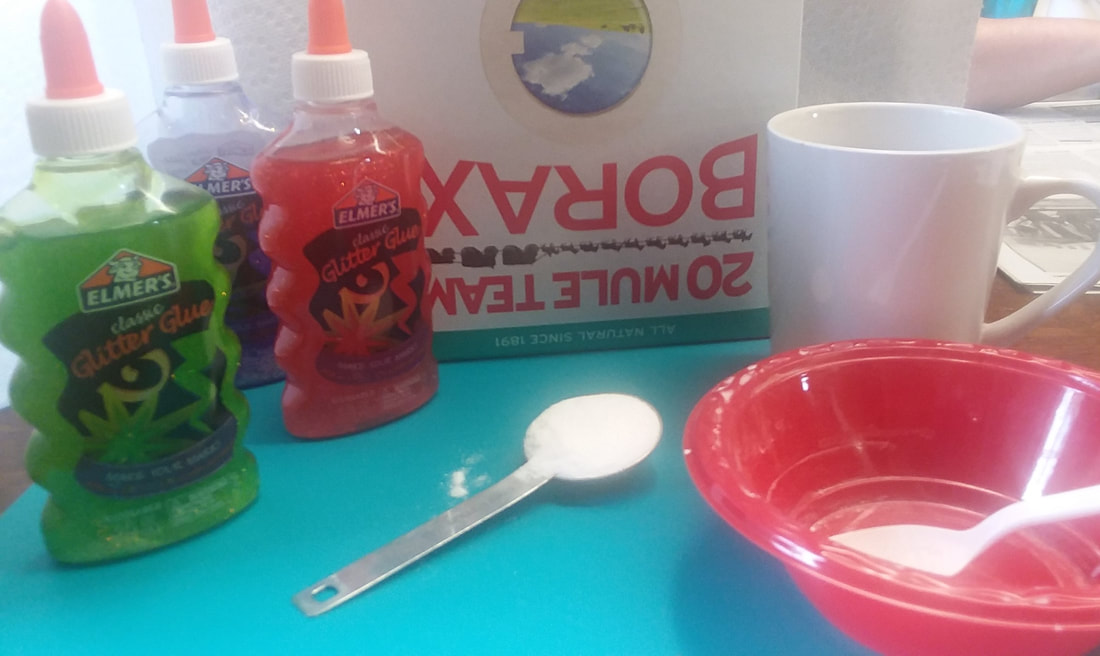
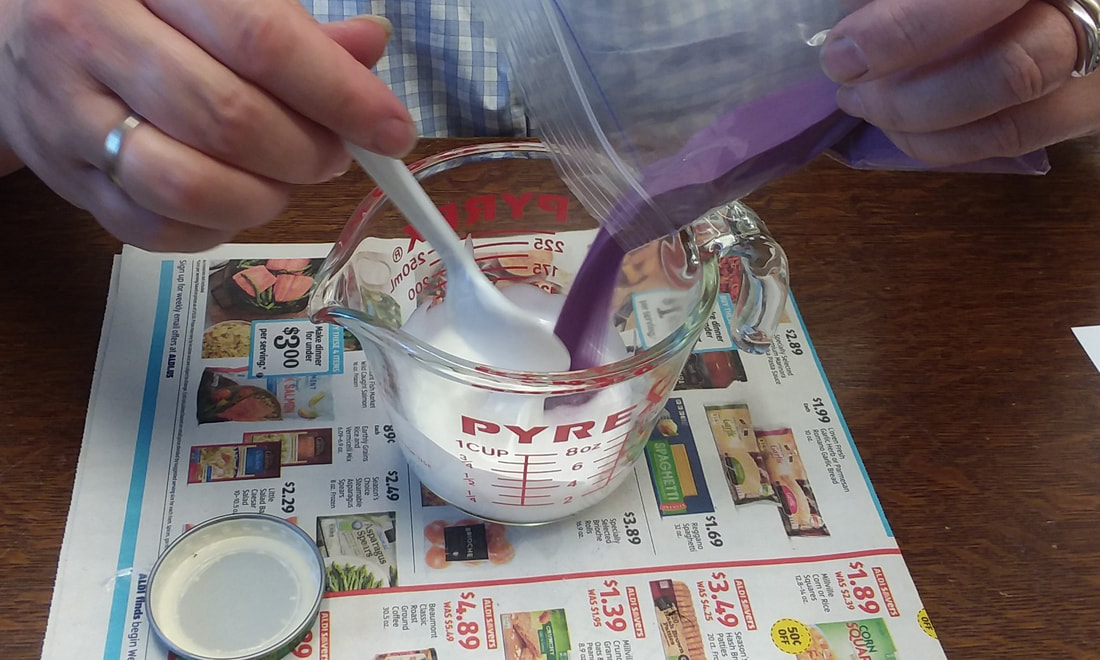
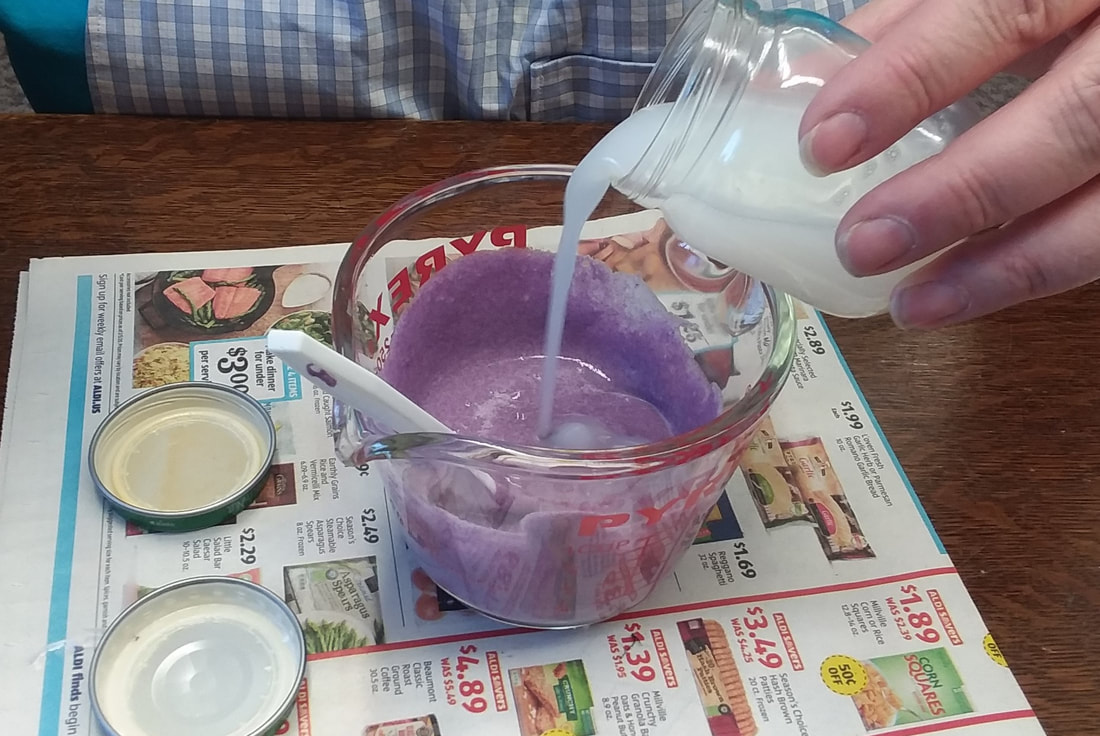
How we put it togetherMix the Borax and the warm water together in a bowl. NOTE: This next step happens quickly as the glue interacts with the borax solution. Using a spoon scoop the two tablespoons of glitter glue into the Borax/water solution and start stirring. When the glue hits the Borax solution, it starts a chemical reaction that turns the glue from plain glue to sticky polymer. When the glue forms a solid blob you will need to take it out of the bowl and start shaping it into a ball with your hands. Keep working the ball until you can feel it starting to solidify and “harden.” You can put the ball back into the borax solution as you work it. You will probably notice the color changing as well. We used purple glitter glue in our example and as it “cured” it turned a light teal. For an even bounce, try to make the ball as round as possible. A rounder ball offers a better bounce, more predictability. Store your bouncy ball in a bag. It is really thick slime so it will flatten out over time. If you leave it on the table or in a small cup it will take the shape it sits in, just reform the ball with your hands and it will shape into a ball. We have kept ours for over a month. It has flattened out a bit, but still bounces. Here are 3 resources that we visited for inspiration that you may want to check out. Silly Science with Simon www.youtube.com/watch?v=fETRbsSzoaM Mommy & Princesses Crafts https://youtu.be/8JDywGEKNLQ Life’s Carousel https://www.lifescarousel.com/make-super-bouncy-balls/
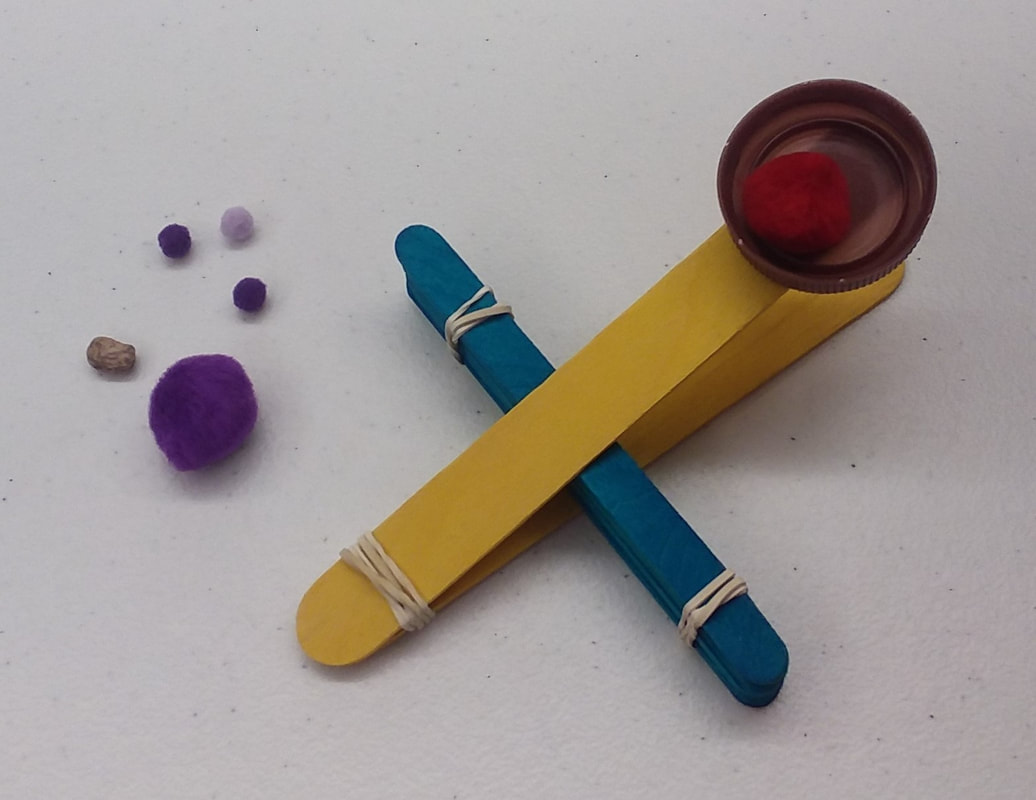
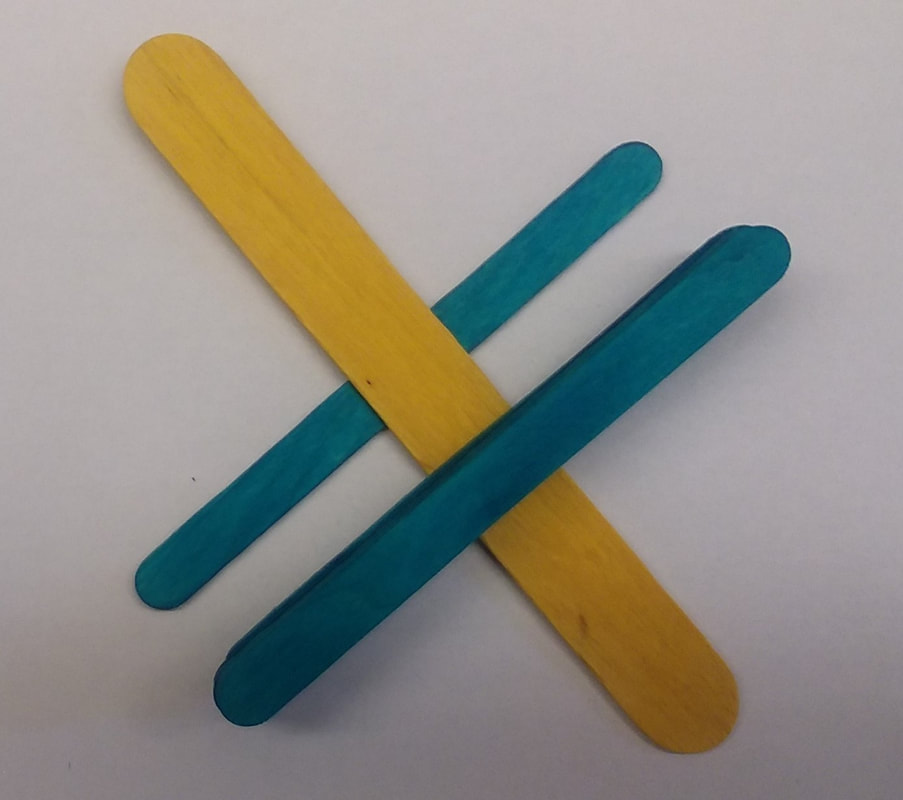
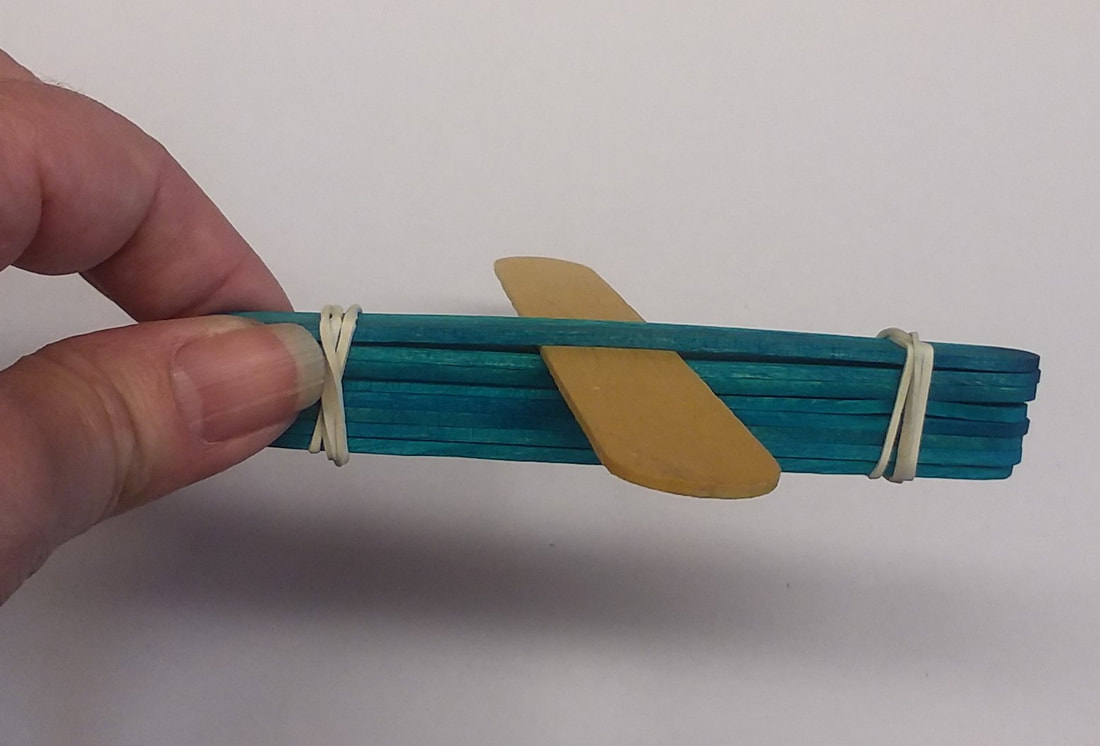
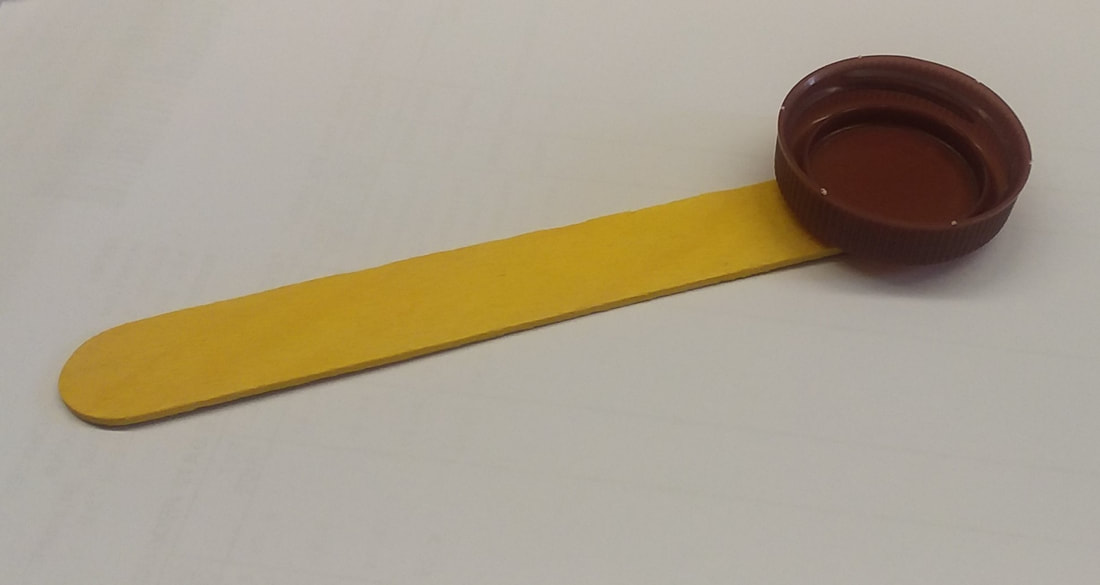
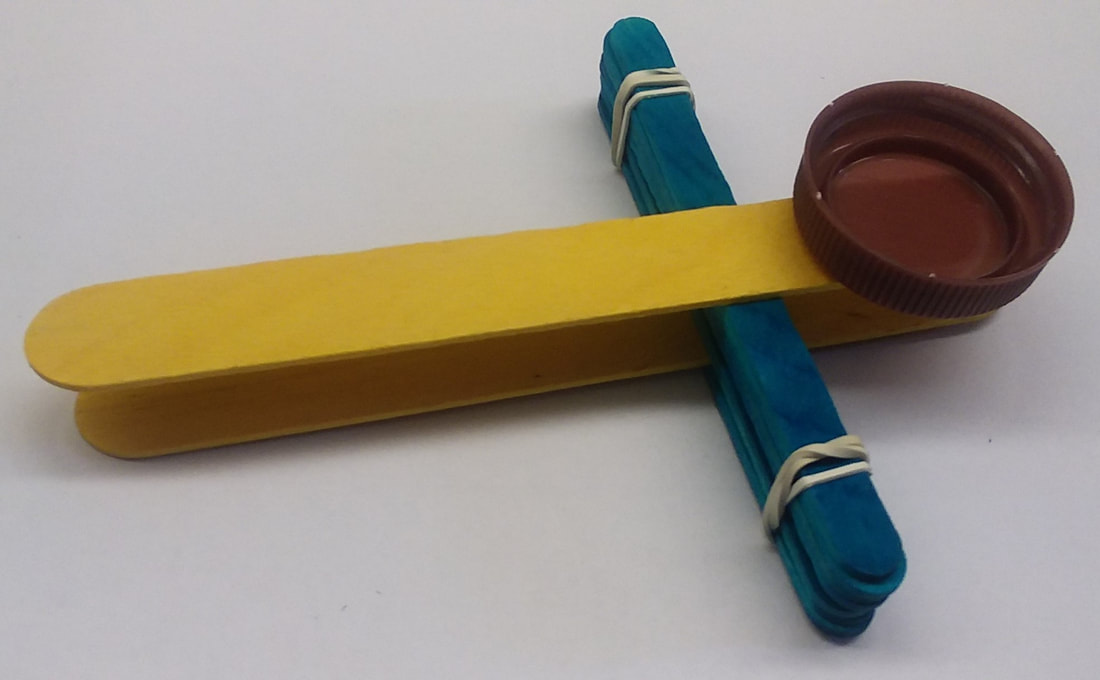
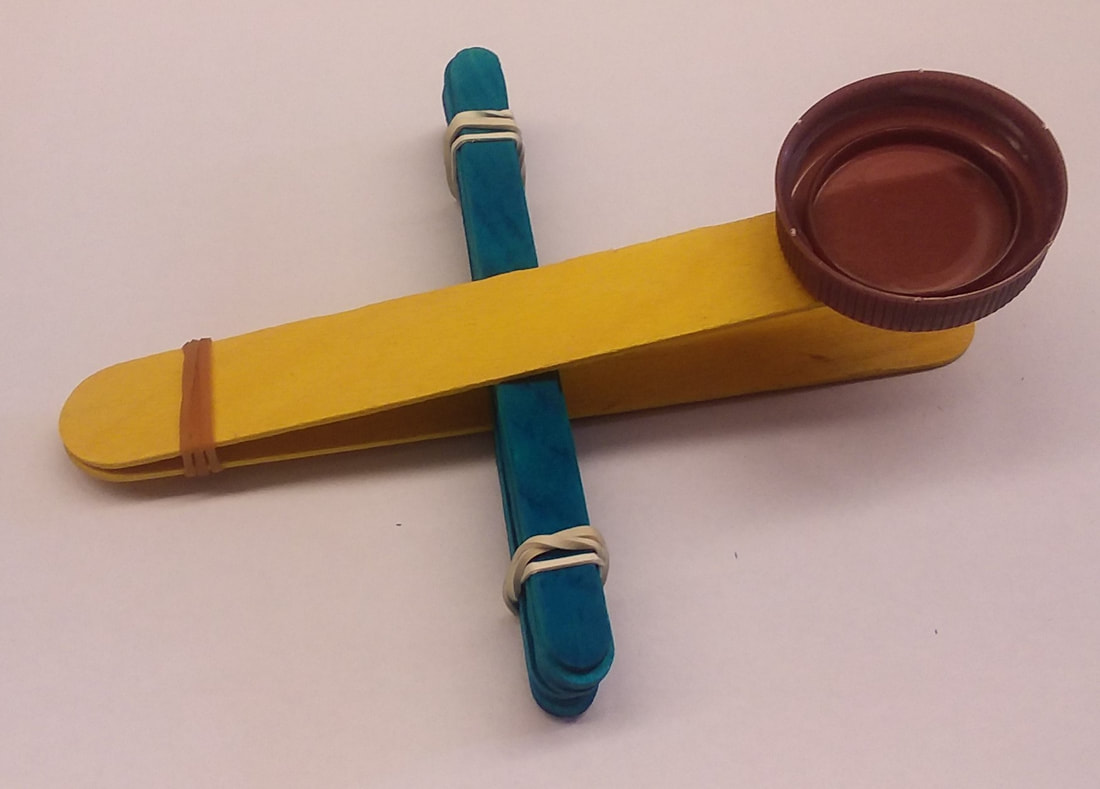
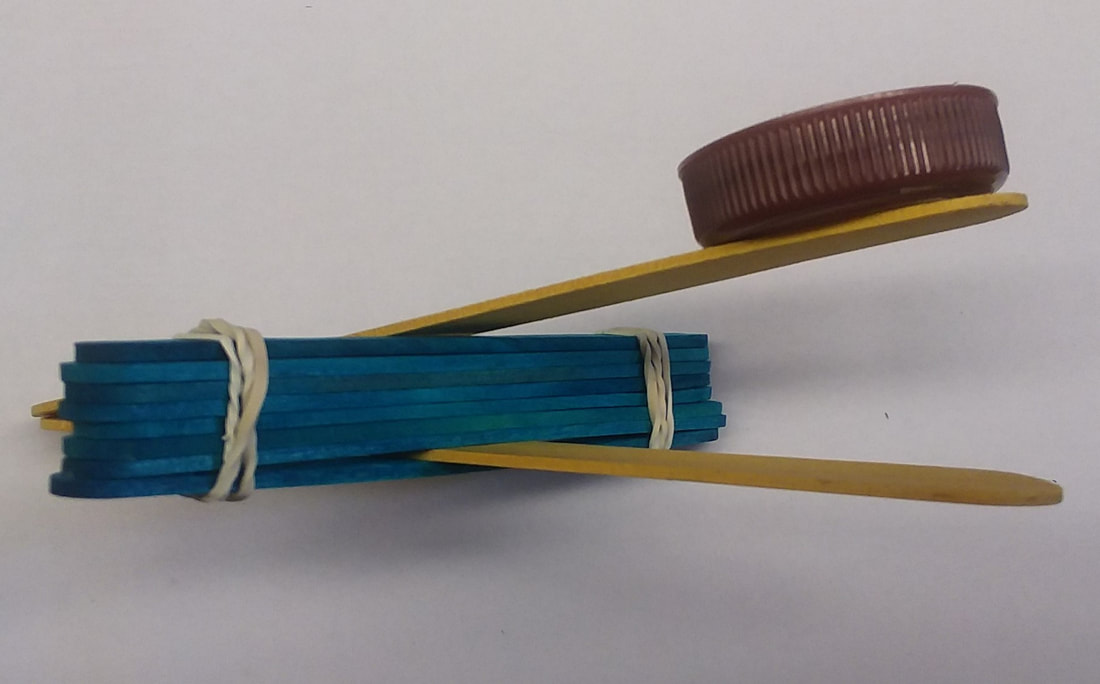
Putting it together: Place 1 of the smaller craft sticks down and lay 1 of the larger craft sticks across it. Then place the rest of the smaller craft sticks on top of the larger craft stick opposite from the first stick. Wrap rubber bands around each end of the smaller craft sticks Attach the milk jug lid by placing a glue dot on one end of the unused larger craft stick and pressing the flat side of the lid on top of the glue dot. Set the stick with the lid on top of the stack of craft sticks parallel to the first large craft stick with the cup of the lid facing up. (It will look like a triangle or tweezers) Rubberband the other two ends together. Once you have all the pieces together you should be able to put a small object (like a pompom) into the cup. Press down on the top stick and see how far your object flies! You can adjust how much flex your catapult has by moving the “stack” back and forth on the bottom stick. Links to check out based on the Popsicle Stick Catapult:
Note: This gets messy for a bit. You will want to cover your table with newspapers or do this wherever clean up is easy. Also you will need to knead this while it feels slimy. If you have problems handling things that look & feel like snot this craft is not for you.
Start making your slime by thoroughly mixing together the glue & sand in a bowl or other container. Slowly add liquid starch stirring constantly. In our video you can see that we added all the starch at one time, but you can try adding half the starch, stirring it in really well then adding the rest if you like. Keep stirring until everything is well mixed. You may find that the slime will start clumping around the spoon and pulling away from the sides of your container. That is when you will want to start mixing it with your hands. There may be some of the starch that doesn’t work into your slime pooling around the inside of your container. That’s okay. Just pick up the rest of the slime and start working it between your hands, squeezing it and pressing it back on itself. You will want to knead your slime for about 2 minutes or so. So how do you tell if your slime is finished? It should stretch and might feel a little oozy, but it should not stick to your hands. If it is still sticky you try rolling it around in any starch you might still have in your container. When you are finished playing with your slime store it in an airtight container or ziploc bag. It should keep for quite some time. Sand may settle to the bottom when it’s stored, but will mix back in as you knead it again. Just a note: Weather does seem to affect how much starch is needed when making slime and how long slime lasts. Check out our video of MaryBeth having fun making slime below. Links to check out: We based our recipe on the one found on “Growing a Jeweled Rose”: Find a different way for putting this together at "DIY Sand Slime - How to make slime with sand! No Borax" - And for those little accidents that happen "How to get Slime out of Clothes" -
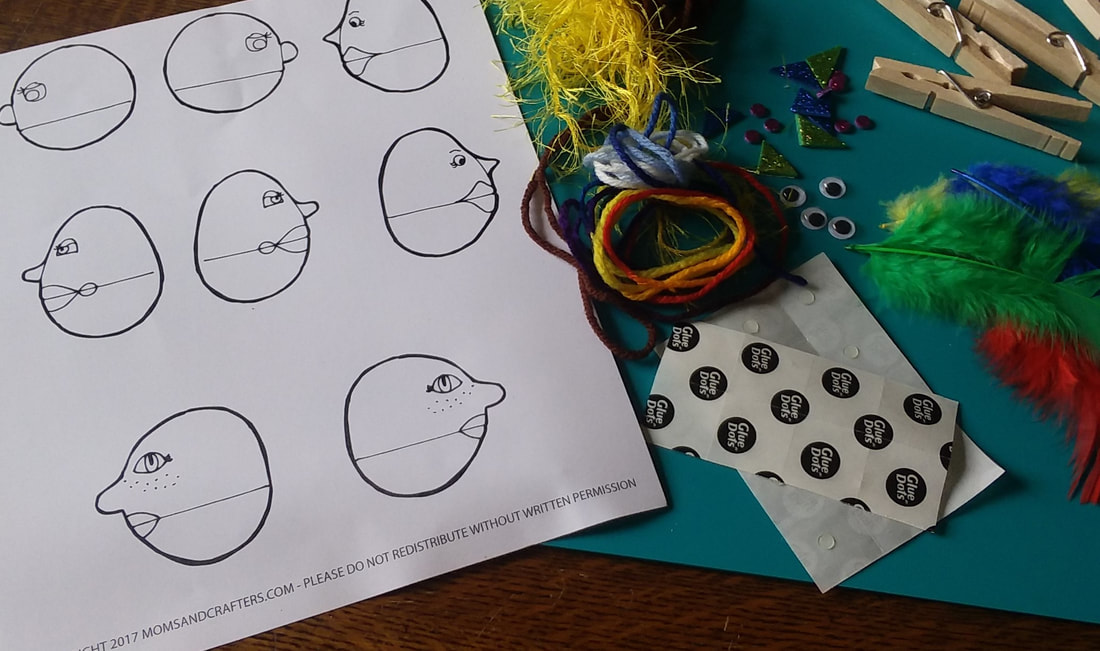
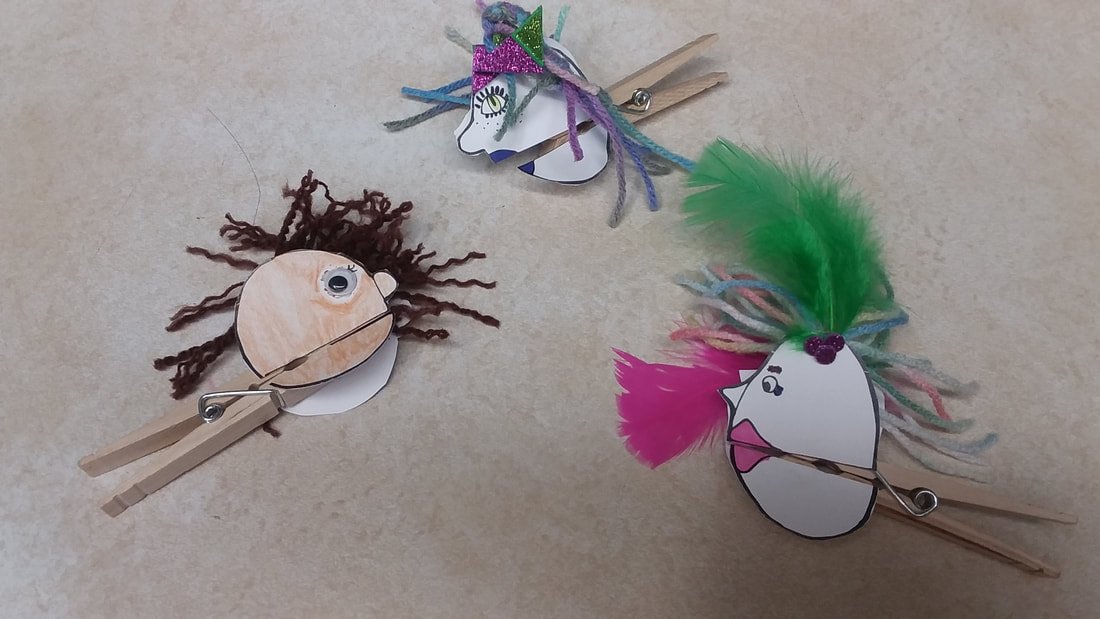
Color the puppet faces. Trim the edges of excess paper then cut across the puppet heads at the line through the mouth. Glue the paper faces onto the clothes pin with the "lower jaw" on 1 bottom portion of the clothespin and the rest of the head glued to the top portion on that same side. You will want to mirror that on the other side. Add other decorations like google eyes, stickers, yarn, feathers, sparkles or whatever you like. You can add hair similar to how you’d make a pompom. Just wrap the yarn fewer times, so that it doesn’t puff into a circle. In our examples "hair" was yarn wrapped around three fingers and tied into a bundle. We also braided yarn for hair. Once you have your "hair" you will want to glue it to the undecorated side of the puppet's head. Thank you to Menucha (Citron) Ceder at Momsandcrafters.com for this great idea permission to share it with you. Click the button below to visit her website and get the template (and other great ideas) for yourself.
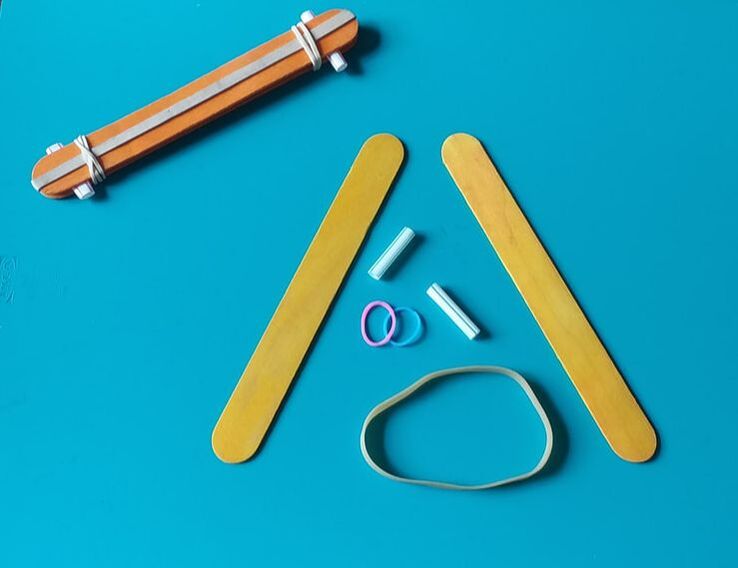
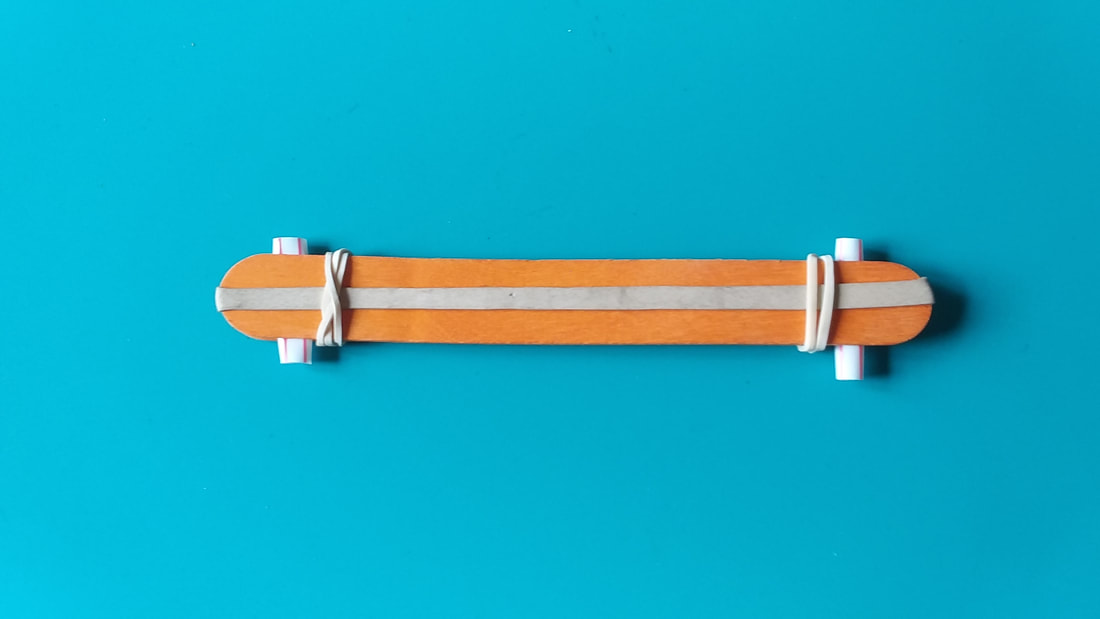
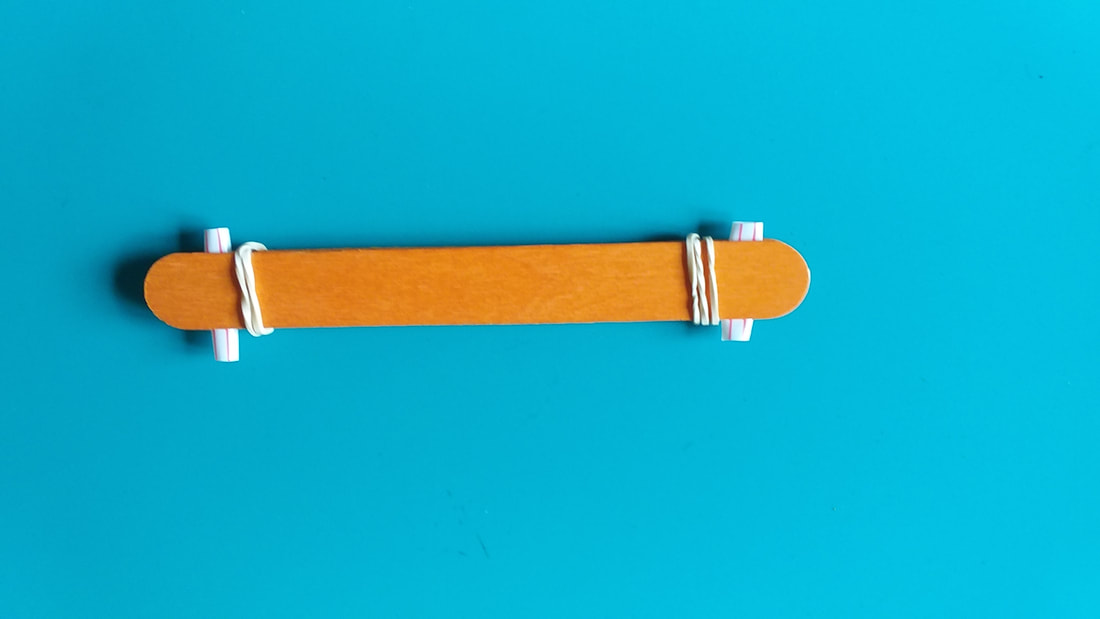
Take your larger, thicker rubber band and wrap it lengthwise around 1 craft stick. Place one of the straw pieces under the thicker rubber band at one end of and then place one on top at the opposite end. Place your second craft stick on top of the first craft stick. This will cover the thicker rubber band and the straw pieces. Rubber band one end together, then rubber band the second end with the smaller rubber bands. We found a Sophie's World craft video on YouTube that walked us through the steps we just described that can help. Vibrations need a medium like air to travel and produce sound that finally reaches our ears. Higher pitched sounds are created by waves with a higher frequency. The pitch, or frequency, produced is equal to the number of times per second (hertz) that the rubber band vibrates. You can change the pitch of your harmonica by moving the lolly sticks or blowing air at different speeds. When the lolly sticks are closer together, the pitch will be higher.
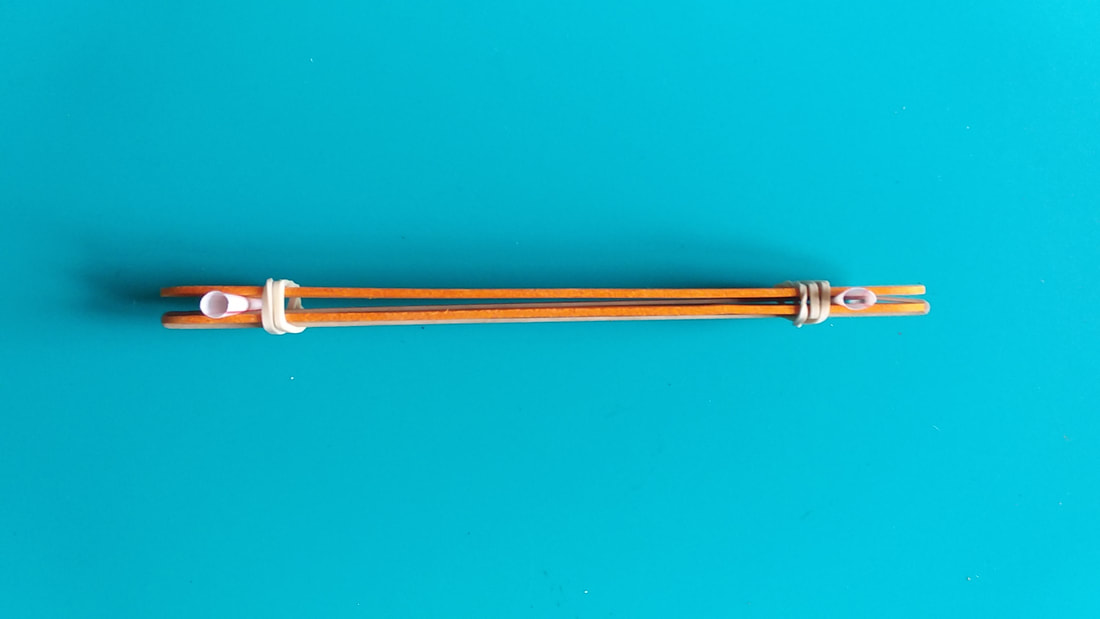
Airflow around the rubber band also affects the sound. The air flowing above and below causes the rubber band between the craft sticks to vibrate due to disturbance in the air. Like most objects, the rubber band has a natural frequency at which it vibrates most easily. Carmelo the Science Fellow also has another style of harmonica made with rubber bands, card stock, and tongue depressors (or craft sticks).
Instructions:
The template we used is similar to the one we found here: http://clipart-library.com/clipart/1278173.htm
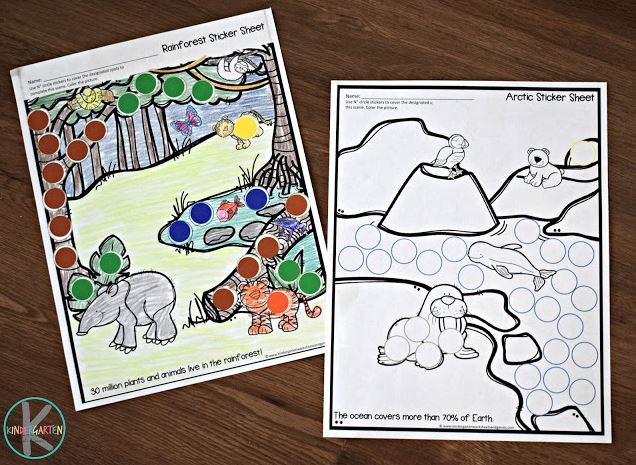
See her other animal habitat worksheets & find other fun projects by visiting her website. Click this button to get your own copies of this project and other animal habitat worksheets.
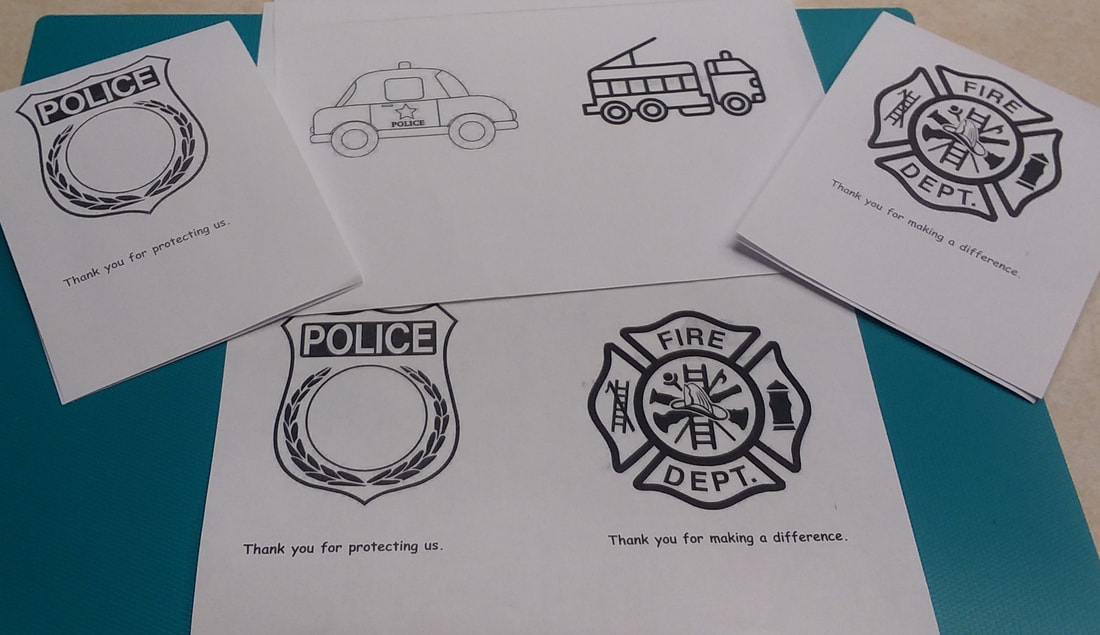
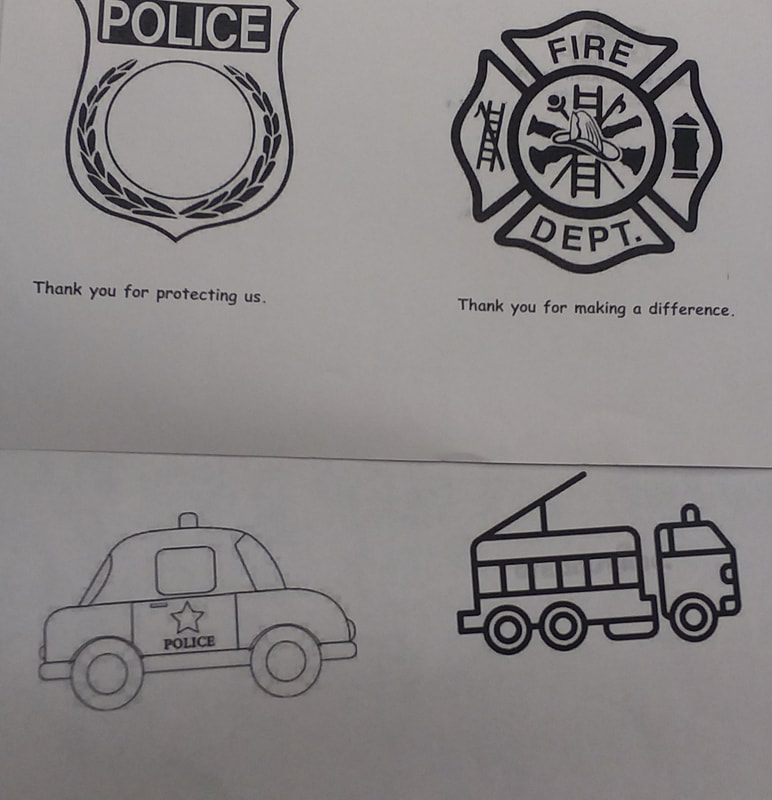
Letting people know how much we appreciate them and all they do is really important. This week we are asking you to take a little bit of time to let our police and fire department personnel know how grateful we are for all they do to keep us safe. Remember how having someone say “thank you” to you makes you feel. Pretty good inside, right? Well that’s how we’d like you to make others feel inside. In our craft packets this week are 2 cards and pre-addressed, stamped envelopes, one each for the police department and the fire department. On each card we are asking you to be creative. Draw a picture, write a poem, or just say “Thank You”. Color on the cover. Whatever you would like to do that will let them know you don’t take for granted how hard they work. Once you’ve finished your card put it in the right envelope and put it in the mail. If you don't live in town or didn't get anything from the library, but still would like to send a thank you addresses for the police and local fire departments are listed below. If you need some ideas or want to know more about writing Thank You notes you might want to check out the Thank You Diva. https://www.thankyoudiva.com/saying-thank-you.html
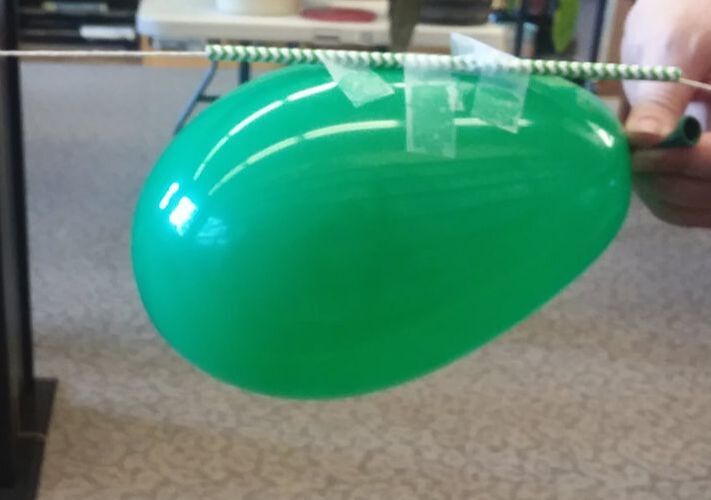
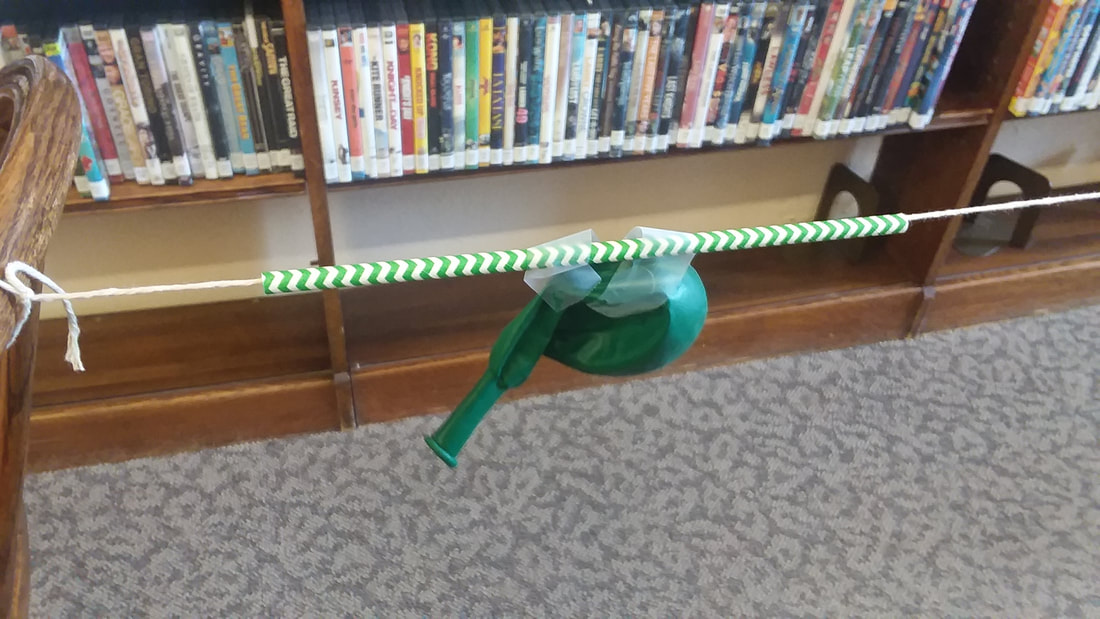
Instructions: 1. Tie one end of the string to a chair, door knob, or other support. 2. Put the other end of the string through the straw. 3. Pull the string tight and tie it to another support in the room. 4. Blow up the balloon (but don't tie it.) Pinch the end of the balloon and tape the balloon to the straw as shown above. You're ready for launch. Let go and watch the rocket fly! You could try this experiment using different size balloons and different size straw pieces to see if there is any difference in how far and how fast it flies. (Our string in the video below was 10 feet long and it took less than 3 seconds to go from 1 chair to the other!) To see more about Balloon Rockets you can check out these links:
And don't forget to check out our test flight below!
|


|
Hours Open to the Public
|
|
|