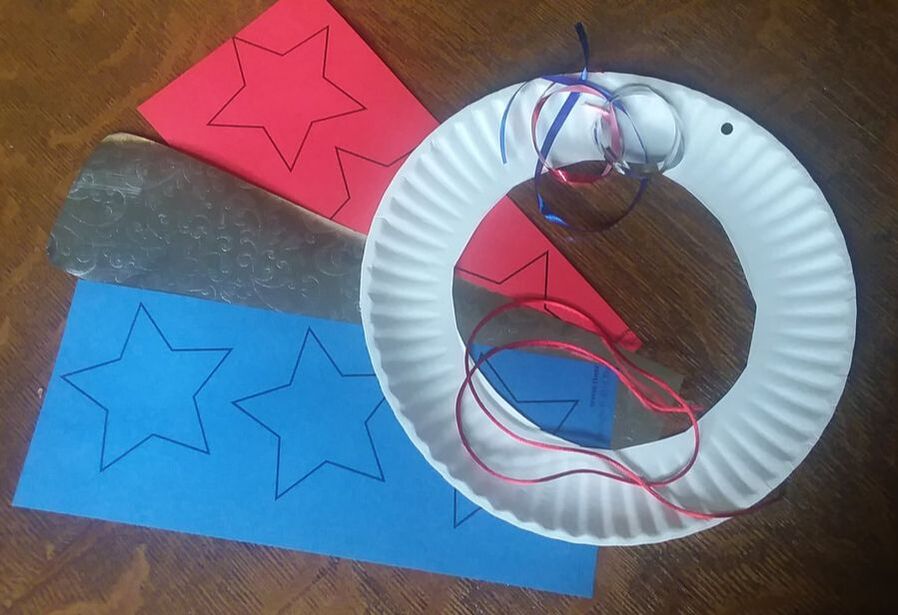
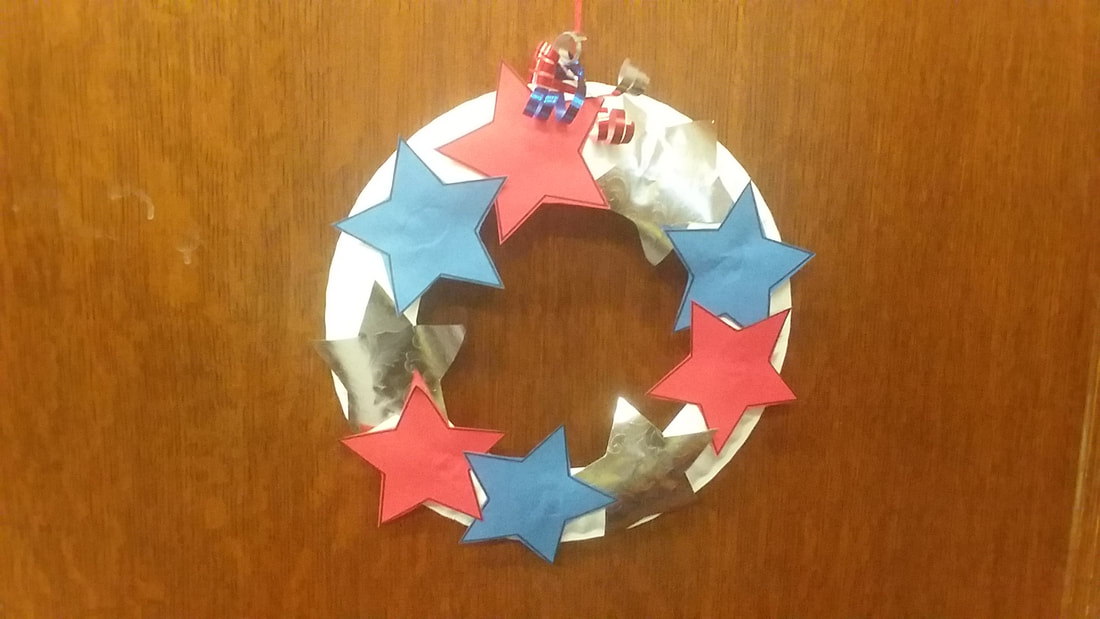
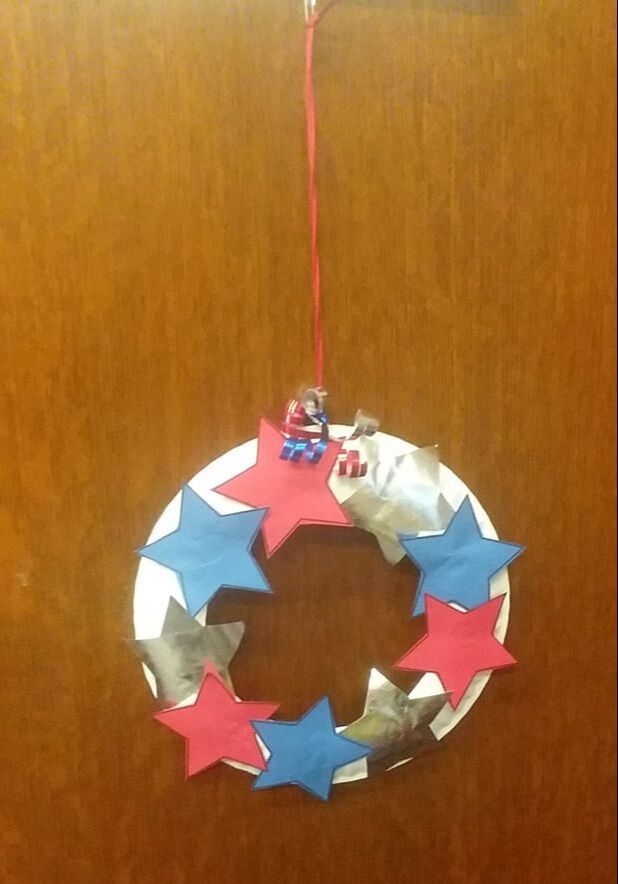
1. Cut the center circle from paper plate. Most paper plates have lines you can cut along. 2. Cut out stars from red and blue paper. Use the red or blue star to trace stars onto the silver paper, cut those out. 3. Glue stars to the paper plate alternating red, blue, and white or silver side up. 4. After you finish gluing your stars on the plate, you will want to attach something to hang it by. If you have a hole punched in your plate you can loop ribbon through the hole. Otherwise you can glue (or staple) ribbon for your hanger. 5. Make a bow or streamers from the rest of the ribbon and attach to your wreath. (Our bow is made using 3 different ribbons.) If you have more ribbon or find some that you like, add it to make it your own. 6. If you are a glitter person, you can put glue and glitter on your wreath Just a few notes. I don't recommend using foam plates for this craft because the stars don't seem to stick as well. Also we used silver wrapping paper in the place of white construction paper. We liked that better than using glitter because it made it so our wreath had a little sparkle to it without all the mess of glitter. The supplies we sent out for our wreath had 3 inch stars. We found a good template for our stars at First Palette along with ideas for other star crafts.
Here is a really simple way to start beans and other seeds. Instructions:
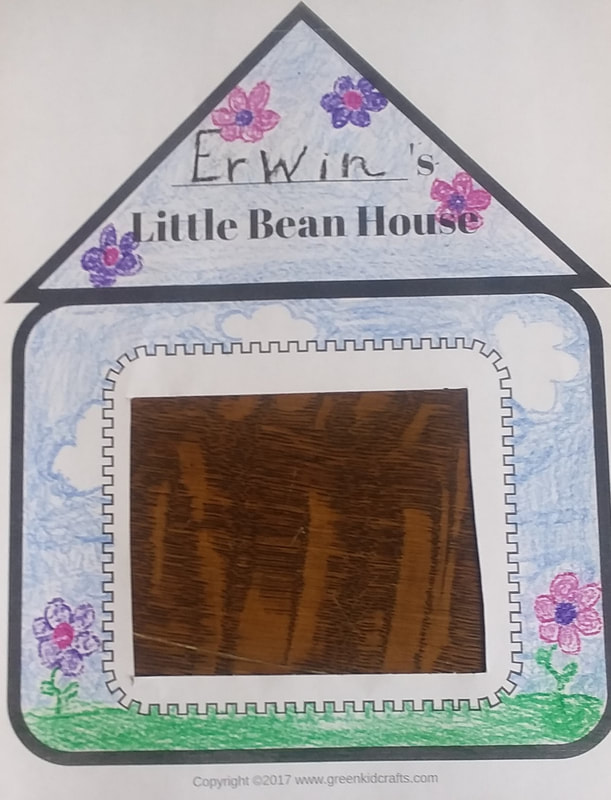
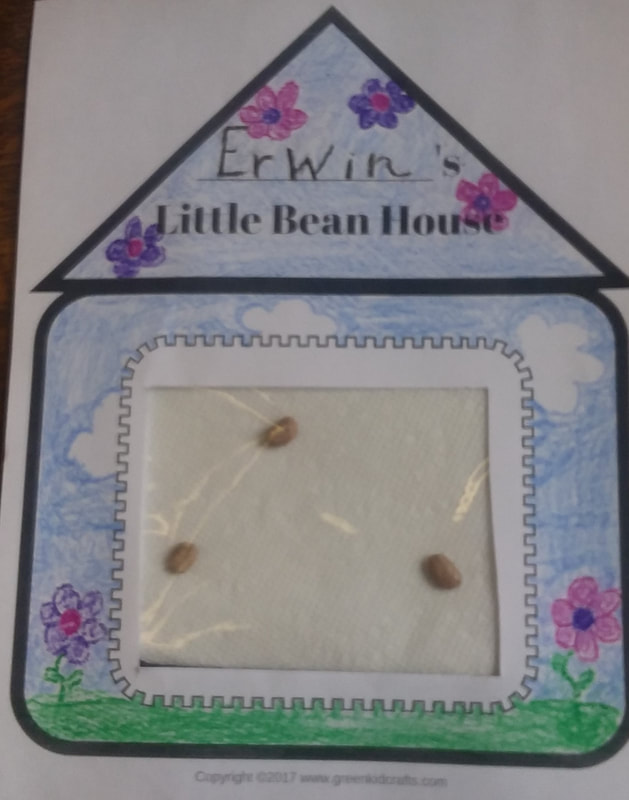
We found a cute house on the Green Kid Crafts website that we colored and cut the center out of then taped the bag to the back of it and will be putting it up in the window with the beans facing outside. We also have Bean Plant Observation Journal where we can make notes about what we see when we check on our seeds.
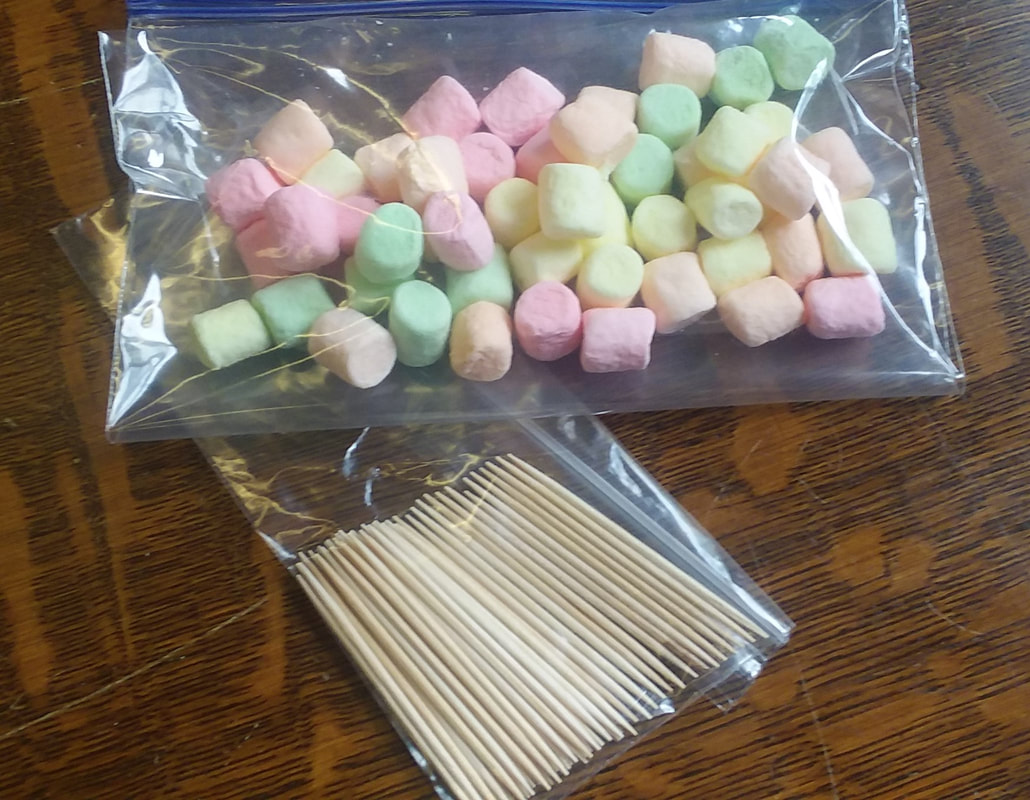
There are lots of fun shapes you can build using marshmallows and toothpicks. Build two dimensional shapes that lay flat on the table or three dimensional shapes that stand up from the table. (This note is for anyone just starting to learn about dimensions. Two dimensional means flat because it can only lay down. It only has length and width. A three dimensional shape is something you can wrap your hand around. It has length, width, and height.) We built a triangle, 2 squares, a hexagon, and a lob-sided house. What can you build? If you need some ideas of what to build or want to know more about building marshmallow structures we suggest you check out these two web pages. The first is from Abby the Librarian at the New Albany-Floyd County Library. The second is a YouTube video from Carmelo-The Science Fellow talking about how to illustrate engineering principles using marshmallows and toothpicks.
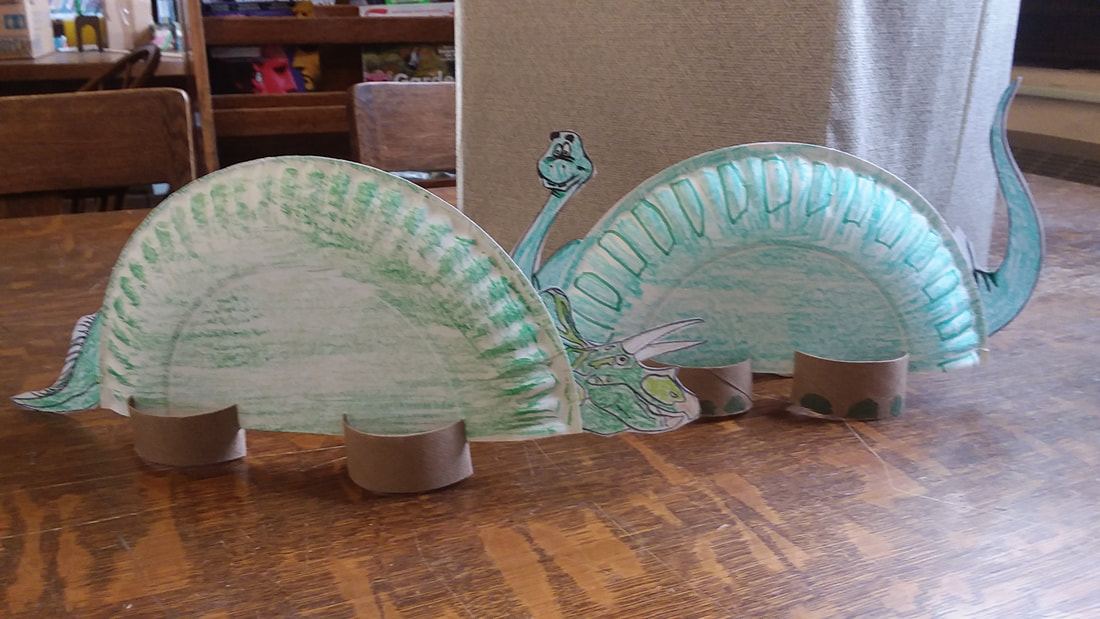
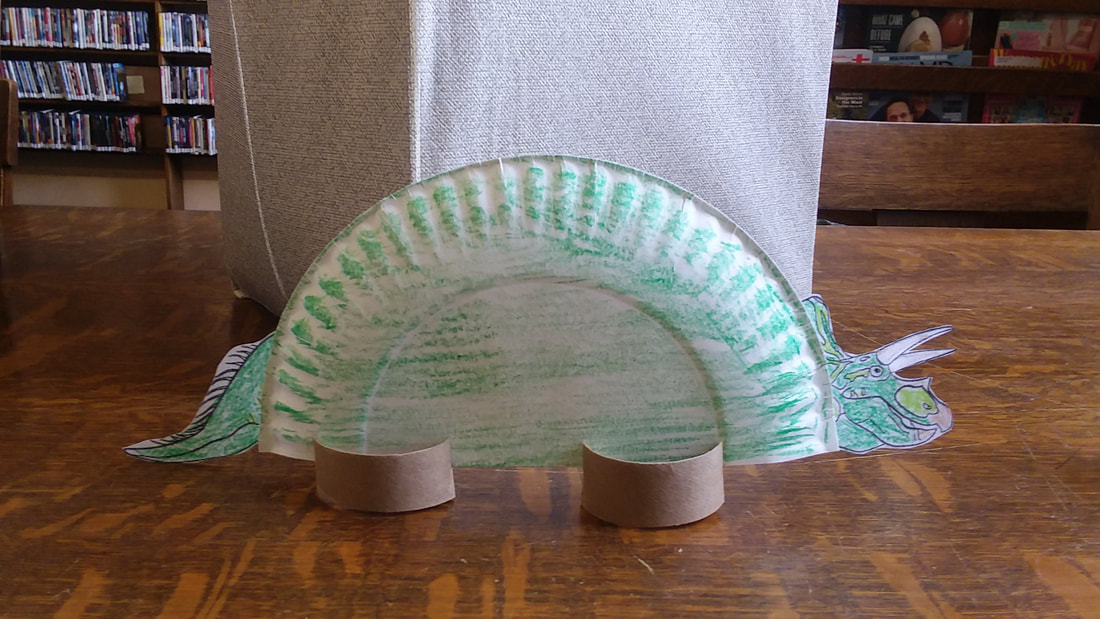
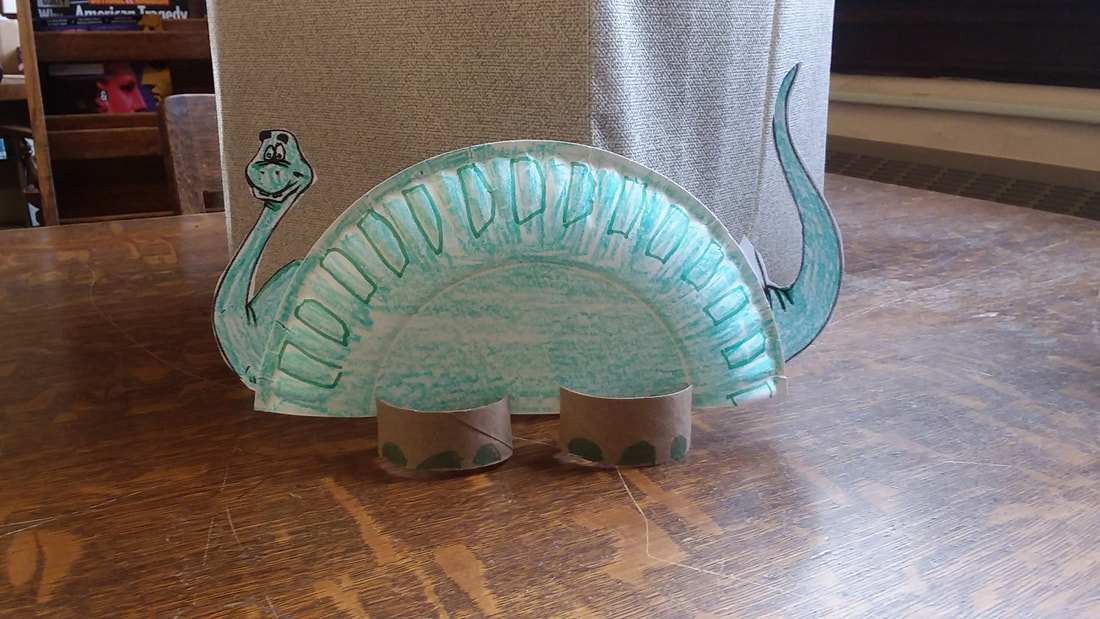
This works best if you plan that the long flat part of the plate is the dinosaur's belly and will slide into the leg part. 1. Color and decorate your paper plate half and you dinosaur's head and tail. 2. Using your gluing supplies attach the head to one curved edge of the plate and the tail to the opposite edge edge of the plate. 3. Color and decorate the toilet paper rolls as legs and feet. (The plate will slide into the slots on the toilet paper rolls so you will probably want to put any toe nails on the opposite edge.) 4. Slide your decorated paper plate into the slots on the toilet paper roll legs. Note: You can cut the toilet paper rolls whatever length you like so that the legs longer. (Our dinosaurs are kind of short).
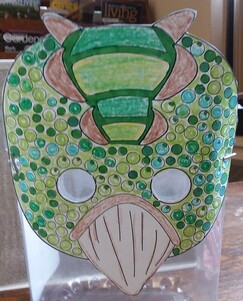
This week we are making dinosaur masks. They are simple to do and patterns can be found all over the internet. We liked the ones we found on Mother Natured website. https://mothernatured.com/printables/printable-dinosaur-masks-for-prehistoric-play/ 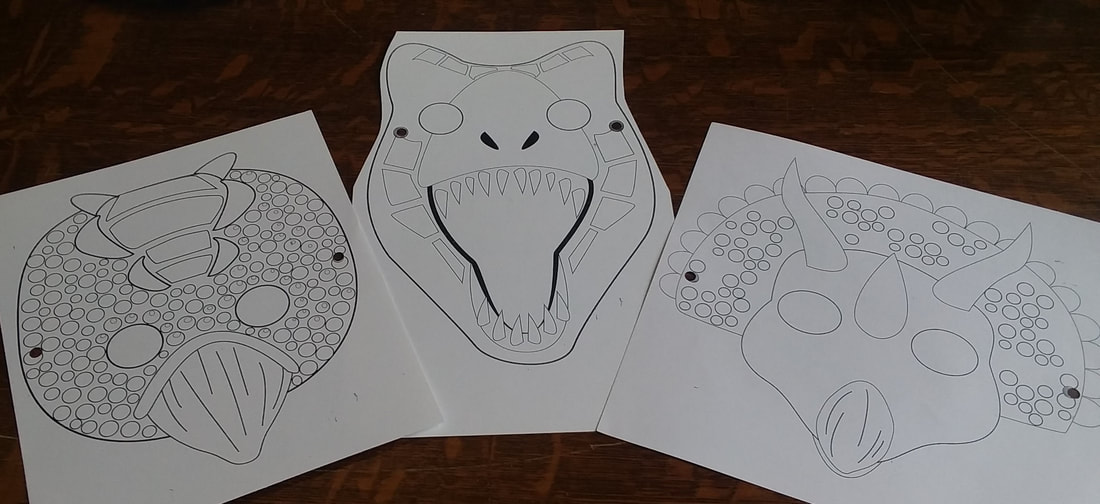
Tangram is a puzzle game that started in China and was brought to America by Captain M. Donnaldson in 1816. Made up of 7 flat pieces called tans, the puzzle is usually cut from one large square. The pieces – 2 large triangles, 1 medium-size triangle, 2 small triangles, 1 square, and 1 parallelogram can be put together in many ways. Here’s some simple rules to remember when playing with tangrams:
For lots more ideas or to print more of your own Tangrams check out Aunt Annie’s Crafts. https://www.auntannie.com/Geometric/Tangrams/ (She told us it was okay if you visited her and tried to do some of her puzzles. She even will tell you the answers!) ©Eveleth Public Library 2020 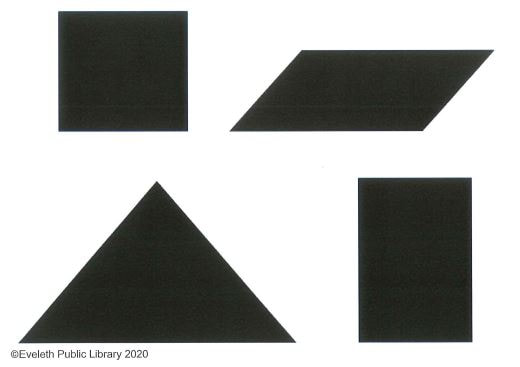
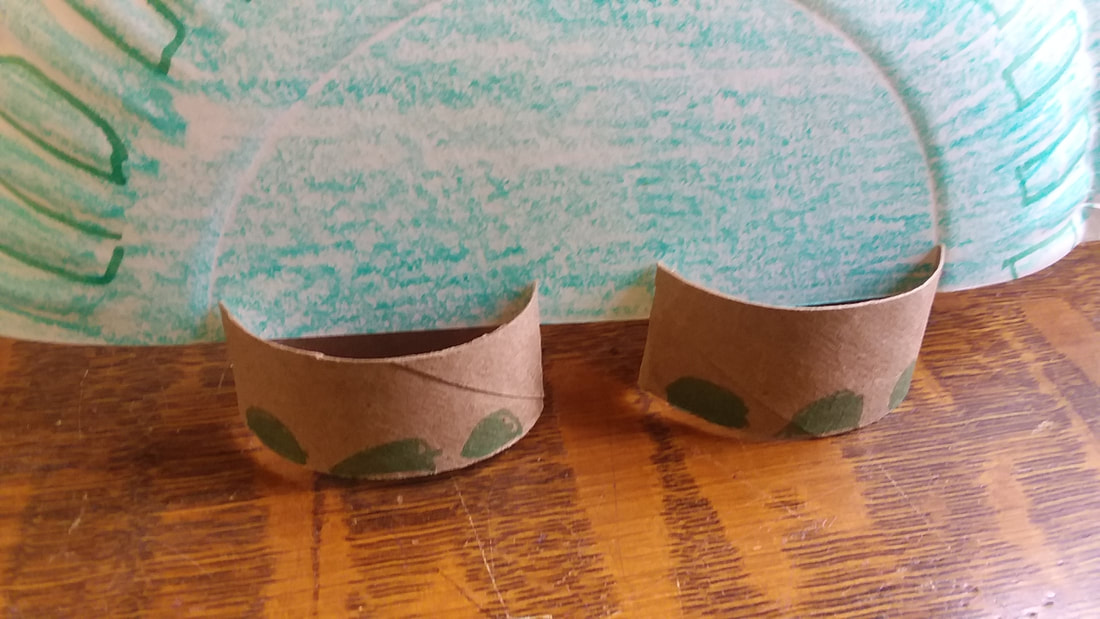
Here are a few tips on how to use toilet paper rolls to house seedlings: 1. Using the paper toilet roll provided, soil medium, and seeds. 2. Place the seed pots on a tray, plate, or bowl. If the seed pots seem wobbly, you could also use the plastic bag as a terrarium-greenhouse. 3. Fill the paper towel roll with soil (it may have dumped out in transit, moisten the soil, and plant your seeds. Keep planted seed inside the toilet paper roll in a sunny location. 4.Typically, you will have to wait a few weeks before you can remove the plants and embed them into the garden. You may want to acclimate the plants to the garden before putting the pods (or just the plants in the pods) into the ground. To do this, take your tray or seeding bin out to the garden for a few hours each day, this will ease the stress of the plants. 5. Plant the toilet paper seed pods in the garden, cardboard tube and all. If the cardboard is sticking up above the soil's surface, simply tear off any excess. If you don't, it will wick moisture away from the roots. You can also cut off the bottom and just plant the tube of dirt that was sitting in the toilet paper pod. The cardboard will biodegrade and hopefully, the plants will thrive. Source: https://www.thriftyfun.com/Toilet-Paper-Tube-Seedling-Pots.html  |
||||||||||||||||||||

|
Hours Open to the Public
|
|
|